Have you ever had one of “those” days?
You know, one of those days where you have great plans for everything you’re going to get done, but by the end of the day, even though you’ve been busy, you’re not quite sure how you managed to NOT get anything on your list done.
Well that’s been my day, well, it’s actually been my last week. At least it feels like it.
Truthfully, I have been busy. Busy with the business (AVNS), busy with family, busy with life in general. But I don’t think I’m any more busy than most people, it seems to be the world we live in. But I guess that doesn’t make it okay. I’m starting to realize that when we’re busy, we miss out on so many things. So busy is okay for periods of time, then we need to do life with our family and friends.
Now I’m laughing at myself, this is NOT what I was going to blog about, but hey, welcome to my life!!!
This blog is over due, sorry!
I thought it would be fun to give you all a recipe to try at home. We will eventually do some youtube videos, but we’re not quite there yet. So here’s a recipe I use at home on myself as a peel. Yes a homemade glycolic face peel, and I love it!
First, what is Glycolic Acid and it’s benefits?
Glycolic acid is simply an Alpha Hydroxy Acid (AHA) derived from cane sugar. It has many benefits, some of which are:
- Removes blackheads
- Purifies pores
- Improves texture of skin
- Gently exfoliates dead cells
- Gets rid of acne scars
- Brightens skin tone
- Reduces hyperpigmentation
I’m sure there are more, but I was super excited when I saw how the texture of my skin improved after doing this only once. You may be tempted to try this every day, but don’t, that would be too harsh on your skin. Start with once a week and then eventually move up to twice a week if needed.
The items you’ll need:
Sugar, brown or white. Lemon juice or Yogurt. Manuka honey (opt.). Small bowl and spoon.
Before we get started, here are some details about the ingredients and why:
I already talked about why we use the sugar, so I’ll move onto an ingredient we have listed as optional. Manuka honey. It is expensive, so that’s why I made it optional, but here are some of the benefits to consider:
It is a potent anti-inflammatory, so soothes inflamed skin while healing blemishes. It also helps balance the skin’s pH and contains amino acids which slough away dead skin cells, helping to keep pores clear. Another benefit I like is that Manuka honey has been shown to increase collagen cross-linking, promoting the structural growth of collagen in skin cells. And since amino acids are the building blacks of collagen, they also protect collagen. Healthy collagen means healthy, firm, youthful-looking skin. It is also a natural humectant, drawing moisture into the skin. This hydration helps to further enhance the skin’s elasticity and cell regeneration, as well as promote healing.
Lemon juice. We use this because it’s rich in vitamin C, plus it contains citric acid which helps with the effectiveness of the peel. But if you have sensitive skin, you may want to try plain yogurt instead. Yogurt contains lactic acid, it’s still effective with the peel, but more gentle on the skin.
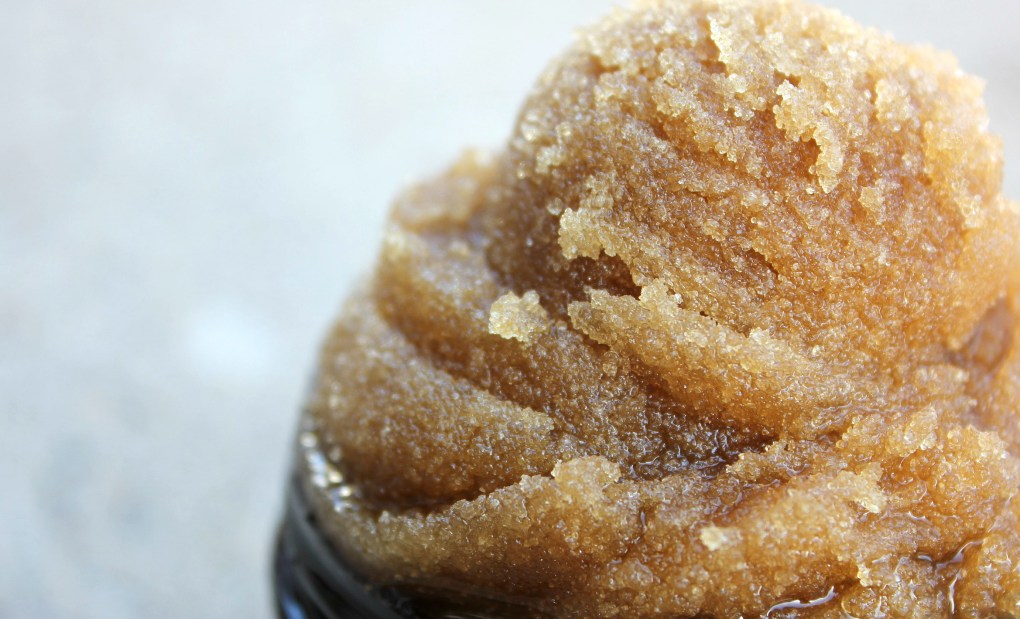
The recipe:
1 T soft brown sugar
1 T lemon juice (or 1 T plain yogurt)
opt. 1 T Manuka honey (if you use the honey, reduce the lemon juice down to 1 tsp)
Small bowl and spoon
That’s it!
The process:
I use whatever sugar we have in the house, which is typically Muscavado. So I need to blend/grind my sugar down to a powder so it is more gentle on my face. But if you’re using a fine grain/soft sugar, you’ll be okay.
- Put your sugar into a bowl and add the honey (if using), and lemon juice (or yogurt).
- Mix together until they are well combined.
- Apply gently in circular motions to a clean and slightly damp face. Avoid eyes and mouth.
- Let it sit for 3-5 minutes
- Rinse thoroughly with warm water, pat dry and follow with a moisturizer.
- Love your skin!!!
Let me know if you try it 🙂
Until next time,
Marianne

Pingback: Apple Valley Natural Soap’s 5 Best Smelling Body Soap Bars | APPLE VALLEY NATURAL SOAP BLOG
Pingback: 3 DIY Tea Bath ideas | APPLE VALLEY NATURAL SOAP BLOG
Pingback: 3 Amazing DIY Face Masks | APPLE VALLEY NATURAL SOAP BLOG
Pingback: Full Body Skin Care Routine | APPLE VALLEY NATURAL SOAP BLOG
Pingback: Why You Should Try a Natural Toner | APPLE VALLEY NATURAL SOAP BLOG