Autumn is a very divided season! Some love it, while others look upon it with dread. For some, it is a refreshing season, the coolness in the mornings and evenings is a welcome change after the heat of the Summer. Others look at the Autumn months as nothing more than the gateway to winter. Too cold. Too gray. Marking the end to yet another gloriously warm Summer. Well, I am here today to do my best to help you embrace the change in season for all it can be – fun, refreshing, cozy, and oh so enjoyable. Here are my top tips for embracing the Autumn months and finding joy in the changing seasons.
1. Nature Walks
There is quite simply nothing like getting outside in October and going for a walk in nature! The vibrant colors all around you, the coolness in the air, and the sounds of nature preparing for a season of rest. There is something truly magical about how the trees put on such a show for us with all of their fiery yellows, oranges, and reds and dark greens. Wether you go with your family, a friend, your kids, or just by yourself, I encourage you to find a nature park or trail near you, get outside, and enjoy a walk surrounded by nature embracing the changing season.
2. Apple Orchards
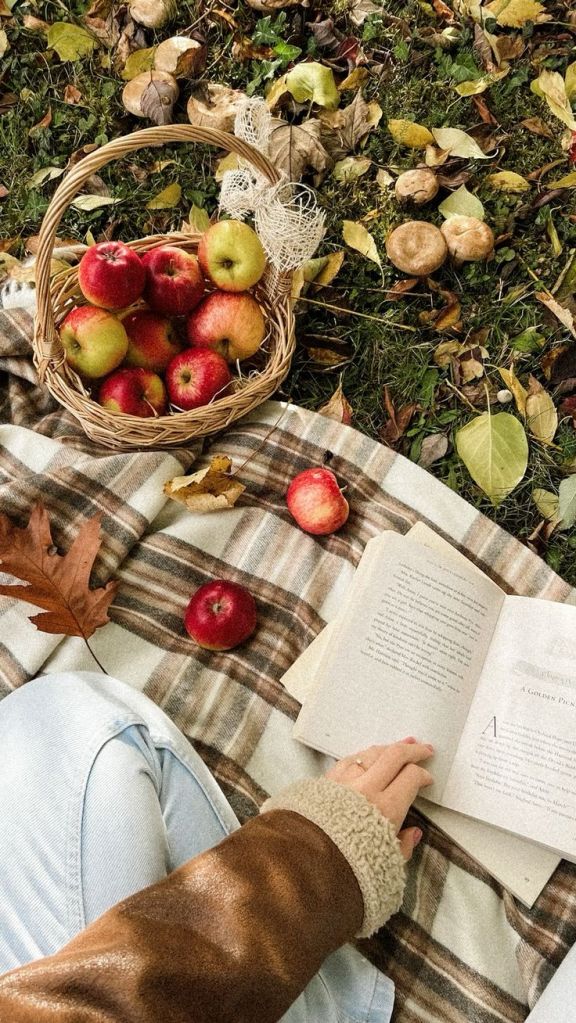
Nothing screams Autumn quite like going to a good old apple orchard. The kids love it, the adults love it, and even grandma loves the fresh apples she gets to turn into yummy pies, jelly’s, and apple sauces. Find a local apple orchard, pack up the car with your family or friends, bring a picnic lunch, and enjoy a Saturday at the orchard picking apples, eating fresh apple cider doughnuts, and enjoying the cooler weather.
3. A Bonfire Night With Friends and Neighbors
One exciting thing about Autumn is the cooler mornings and evenings! Perfect for a warm bonfire outside with some toasty marshmallows. Invite your friends and neighbors to come over and join you by the fire (maybe with a Hot Toddy in hand) and let yourself relax into the simplicity of the night, the community, and crisp Autumn air.
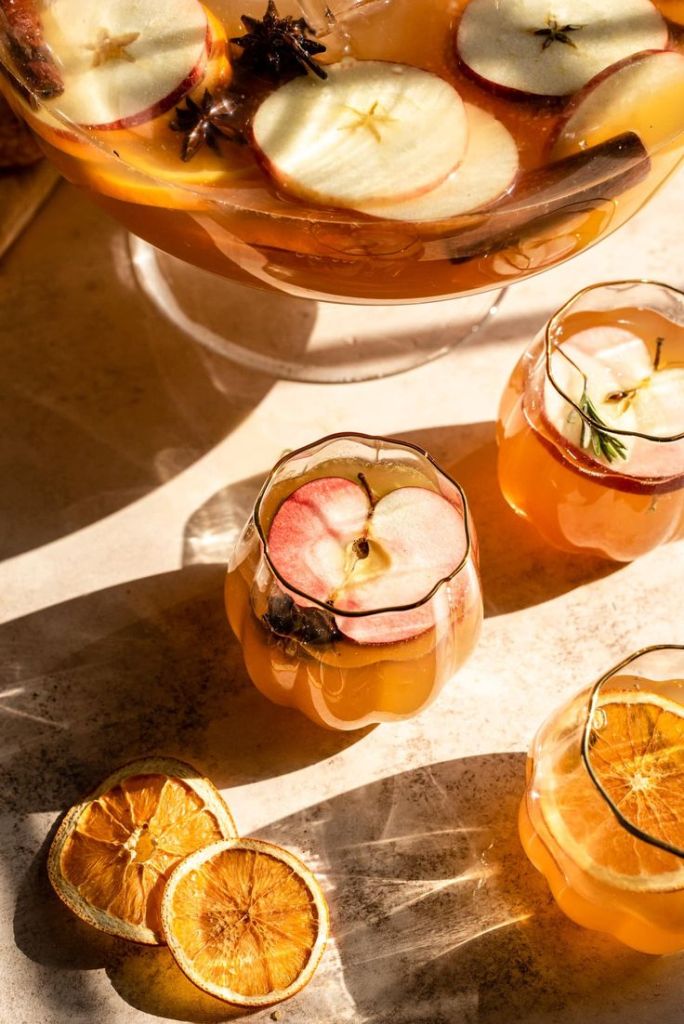
4. Hot Apple Cider
You can pair this one with the one above, but I thought it was only right to give it it’s own feature spot. Apple cider is an Autumnal staple, some drink it cold (weirdos), while us normal people drink it piping hot. And some even like to spice it up a bit by making a Hot Toddy for a little extra warmth on a cool night. But no matter how you like to enjoy your cider, we can all agree it is a staple in Autumn and there is something both cozy and refreshing about drinking an apple cider a the orchard, around a bonfire, or cozied up on your couch in the evening with a good movie or book.
5. Baking An Autumnal Recipe
There are so many options to choose from, just pick your favorite! Pumpkin, apple, zucchini, molasses, maple, cranberry, and the list goes on. Choose your favorite flavors and spend some time in the kitchen with a candle, a cup of coffee or cider, and bake a delicious Autumnal recipe for your family and friends (or eat it all yourself, there is no judgement here.) Pumpkin loaf with cream cheese frosting. Apple pie with maple ice cream. Chocolate chip zucchini bread. Molasses cookies. Maple brown butter cookies. White chocolate and cranberry scones. Pick your favorite and start baking!

6. Decorate You Home For Autumn
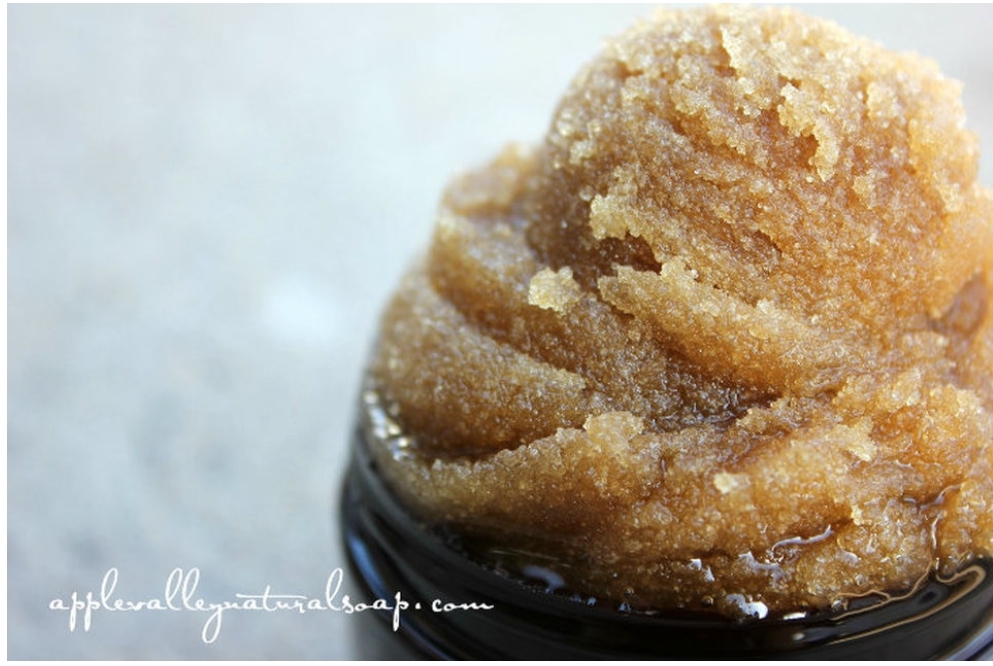
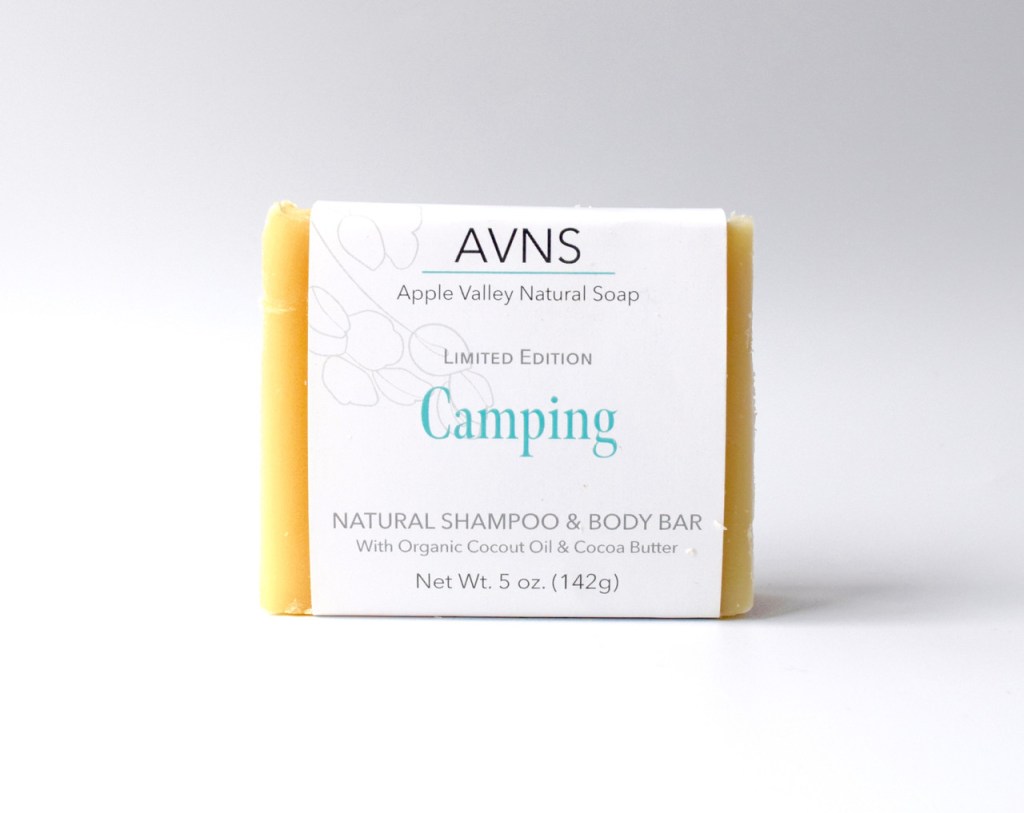
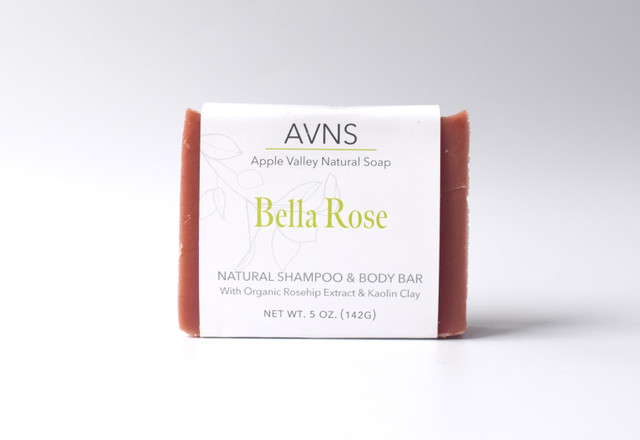
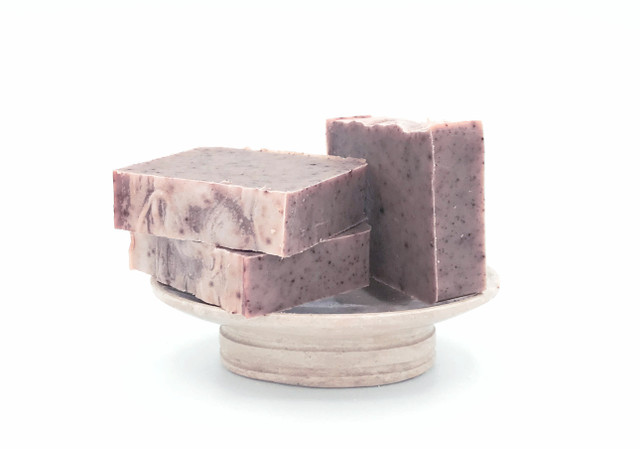
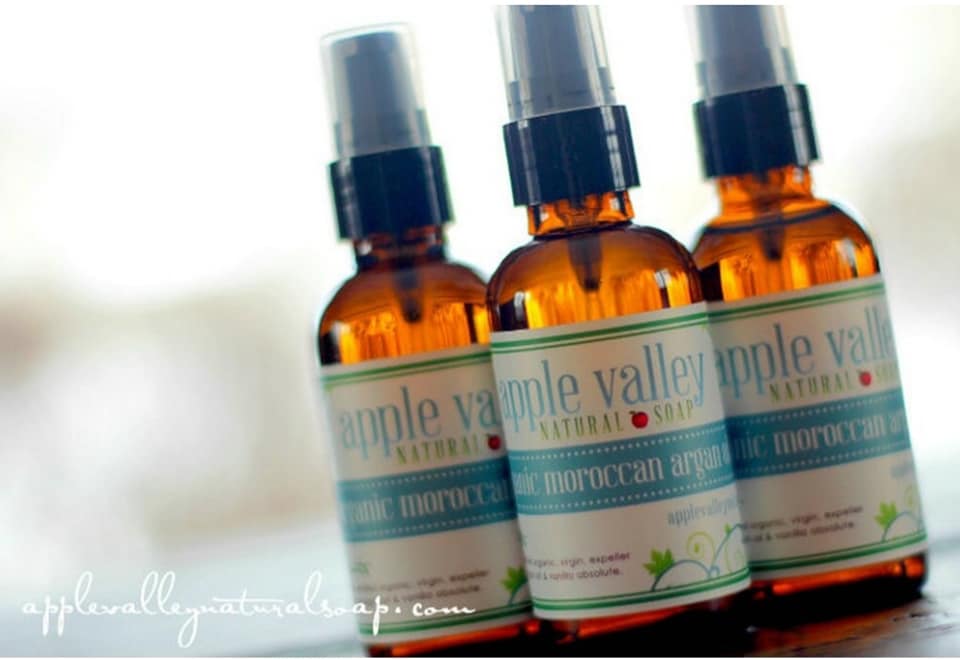
This might be one of my favorite ways to embrace the changing season. I love a fresh space that welcomes the season and brings a bit of newness into my home. And the fun part is, there isn’t just one way to decorate your home! That is entirely up to you and your personal style. You can take inspiration from Pinterest, seasonal home magazines, or home decor shops. Or you can go entirely off the vision in your head! Have fun with it, bring your favorite parts of the season into your home, wether that is pumpkins, oak branches, or wheat. Oranges, greens, or golden yellows. Get creative and have fun! You can also bring Autumn into your home with scents through candles and soaps. Stock your bathrooms and kitchen with Apple Valley Natural Soap Seasonal Fall Soaps like Pumpkin Spice, Spice Cake, and Black Licorice.
Wether you already love the Autumn season or this is a season of dread for you, I hope this blog gave you some inspiration on ways you can embrace the change in season and enjoy it for what it is. A new season, a fresh start, full of new possibilities, and ready for you to make new memories. I hope I was able to help you embrace the change in season for all it can be and you were able to find some good take-aways from my top tips for embracing the Autumn months and finding joy in the changing seasons.
Do you have a favorite way to celebrate the changing seasons, specially this autumn? Share with us in the comments below and let’s start a conversation!
If you found this post interesting, learned something new, or think of someone who might enjoy reading it, please share this blog post with your family and friends. It means the world to us! You can also leave us a comment to let us know what you learned or share one of your favorite autumn hair care or skin care tips with us. We would love to hear from you!
All my love and have a happy week,
Amanda