Does Your Instagram Need a Pick-Me-Up? Try These Easy Photo Shoot Tips and Tricks
Looking to achieve that flawless summer selfie, but not sure where to start? Trying to capture an intimate family moment without stepping out of it? I love a personal and atheistically pleasing Instagram, but maintaining one can be difficult. This blog is written from one amateur photographer to another. I’ll be walking you through some of my top tips (including the famed “hair water flip”) to get some naturally amazing photos with minimal effort (all photos were taken with a Samsung Galaxy S7 Edge).
This is the blog I’ve been waiting to write, and I could not be more excited about the fact that it features two of my favorite things: my cousin Emme (although we’re basically sisters), and Apple Valley Natural Soap products!
Tip #1: Go For Floral

Nothing says “summer’s starting!” like flowers. Not only will flowers fill in a natural pop of color, they’ll also provide effortless natural texture and depth to your photo. Em and I adore this photo and it only took seconds to take. Flowers are a fantastic photo opportunity because there are so many varieties. You can go for warmer shades with flowers that are yellow, orange and red (dandelions, hawkweed, roses). If you’re looking for a cooler photo try blues, purples, and whites (violets, blue lupine, morning glories). The flowers in this picture are lilacs…which smell as great as they look!
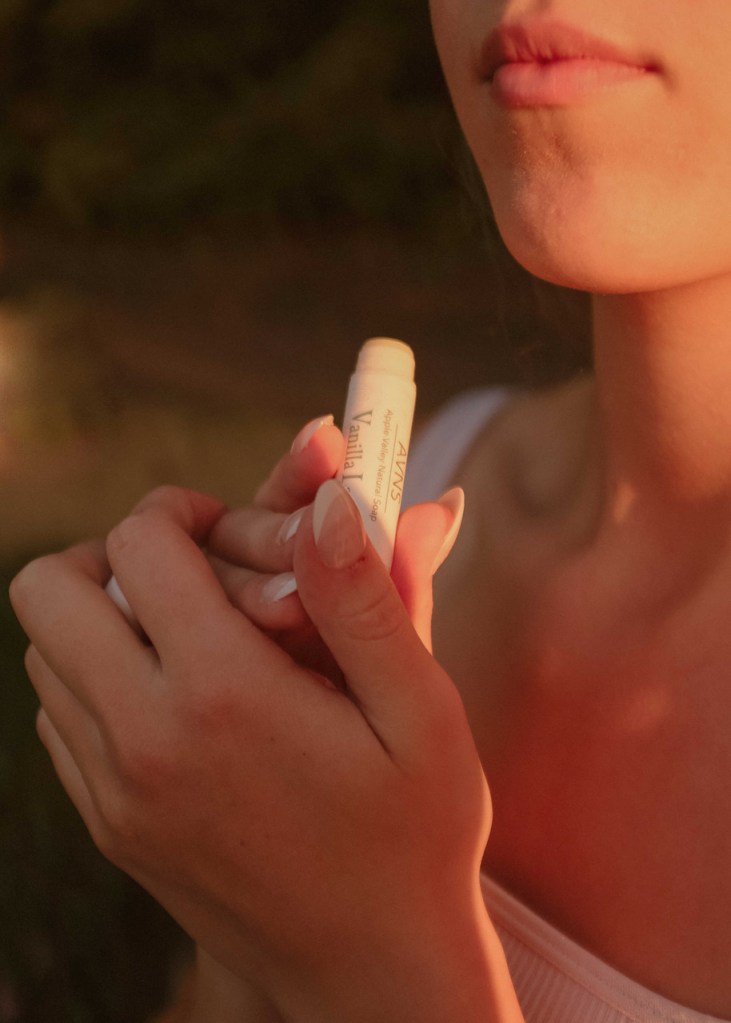
I love Em’s modest, but confident pose and the fact that the only make-up she’s wearing is a little bit of Natural Lip Balm for shine makes this photo all the more beautiful! Our lip balm comes in unscented, but I would strongly recommend Vanilla Latte because it is my FAVORITE.
Trick #1 Get Creative With Angles

Spending our summers in rural Wisconsin means we aren’t afraid of a little dirt! Emme was more than willing to get adventurous when I suggested she lie down right in the middle of the flowers…and it definitely paid off! While a little adjusting may be necessary, let yourself be inspired by the natural process of your photoshoot. The way Em’s hair curls around on the left side was accidental, but it turned out to be our favorite part of this photo. While nature exists for our enjoyment, please be mindful of creation. As Em and I like to say, “No plants were harmed in the making of this film!”
Super Secret Extra Tip For Gorgeous Summer Hair!

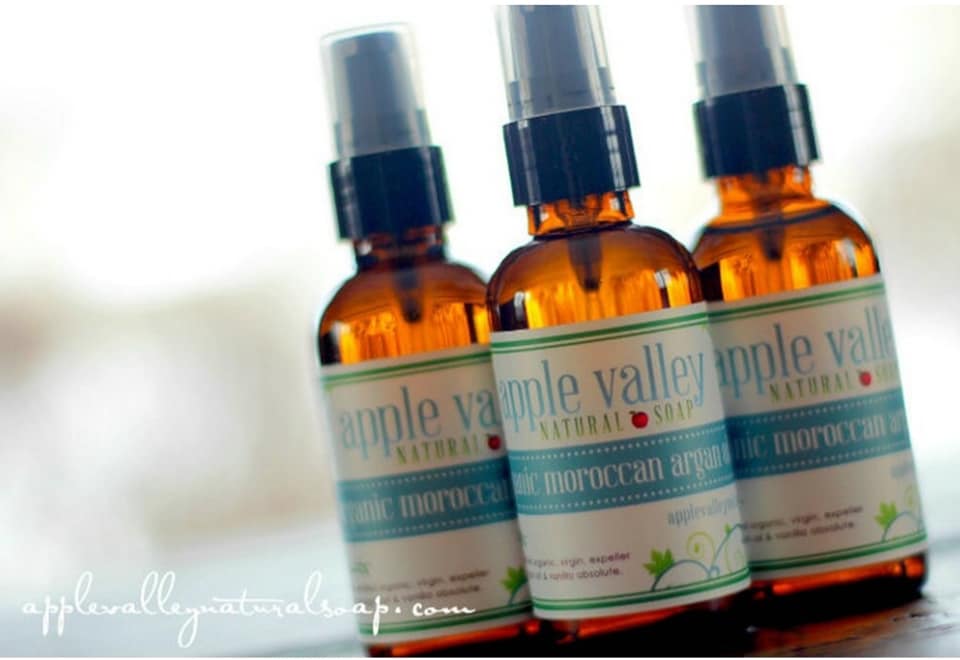
Caught between brown and blonde, I like to consider my hair tone a natural bronze. That being said, the sun always leaves me a little lighter at the end of summer. Anyone else? Part of me looks forward to the free, natural highlights, but I also worry about sun damage. Moroccan Argan Oil is a great natural thermal heat protectant for hair. Blessed to be a natural blonde, Emme does a great job of maintaining her beautiful blonde hair, and we’ve even got some shampoos like the Restore Shampoo Bar to help!
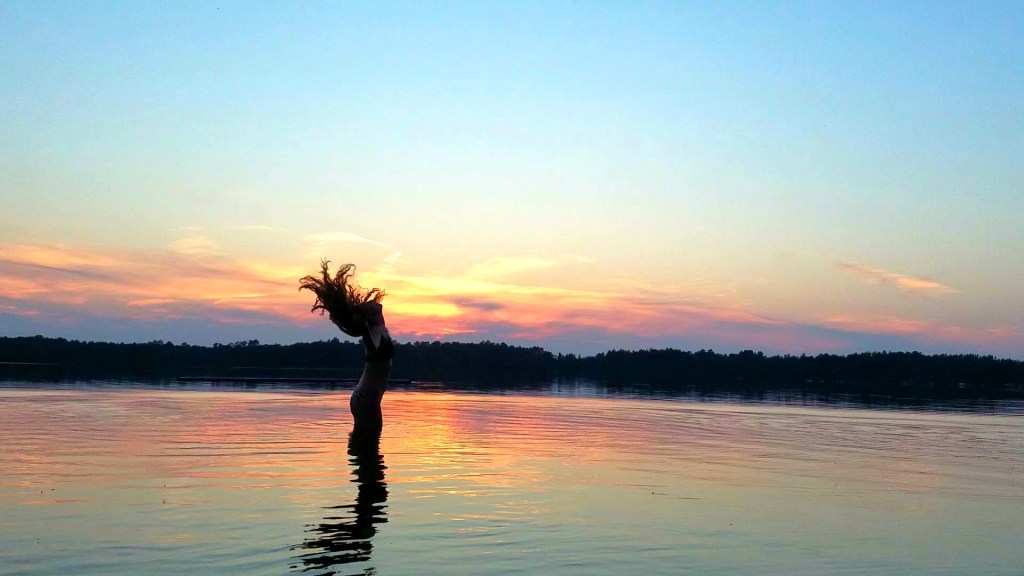
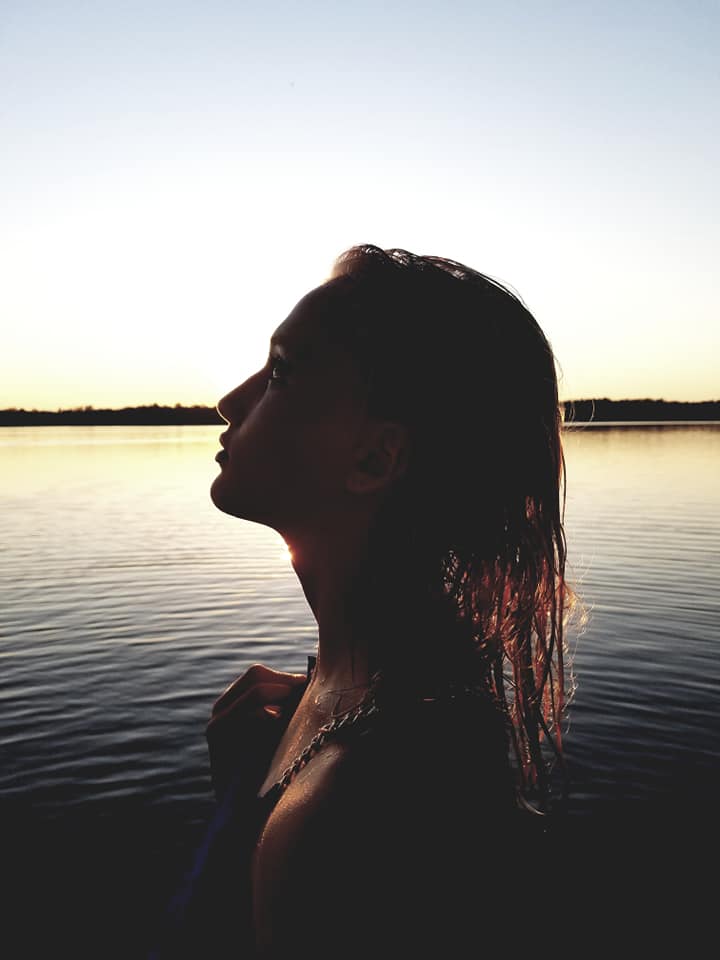
Tip #2: Try a Silhouette
Sometimes I wake up and I’m just not feeling ready for my close-up. On days like this, a silhouetted photo reminds me that physical beauty does not define me. While we progress towards a more accepting definition of physical beauty, I’m always working to remember that what really makes me beautiful is not what others can see on my body. I love this photo for the romantic experience it encapsulates. The wind, the water, and the feeling.
Trick #2 How to Take a Selfie That Doesn’t Look Like a Selfie
This water hair-flip is an insta-photo opportunity that’s super simple to accomplish and looks incredible. I love a great picture of myself, but I feel super self-conscious and annoying asking people to take photos of me. That won’t be a problem here! For this photo you’ll need water, a video-recording device with screenshot or video capture features, and yourself.
How Do You Flip Your Hair With Water?
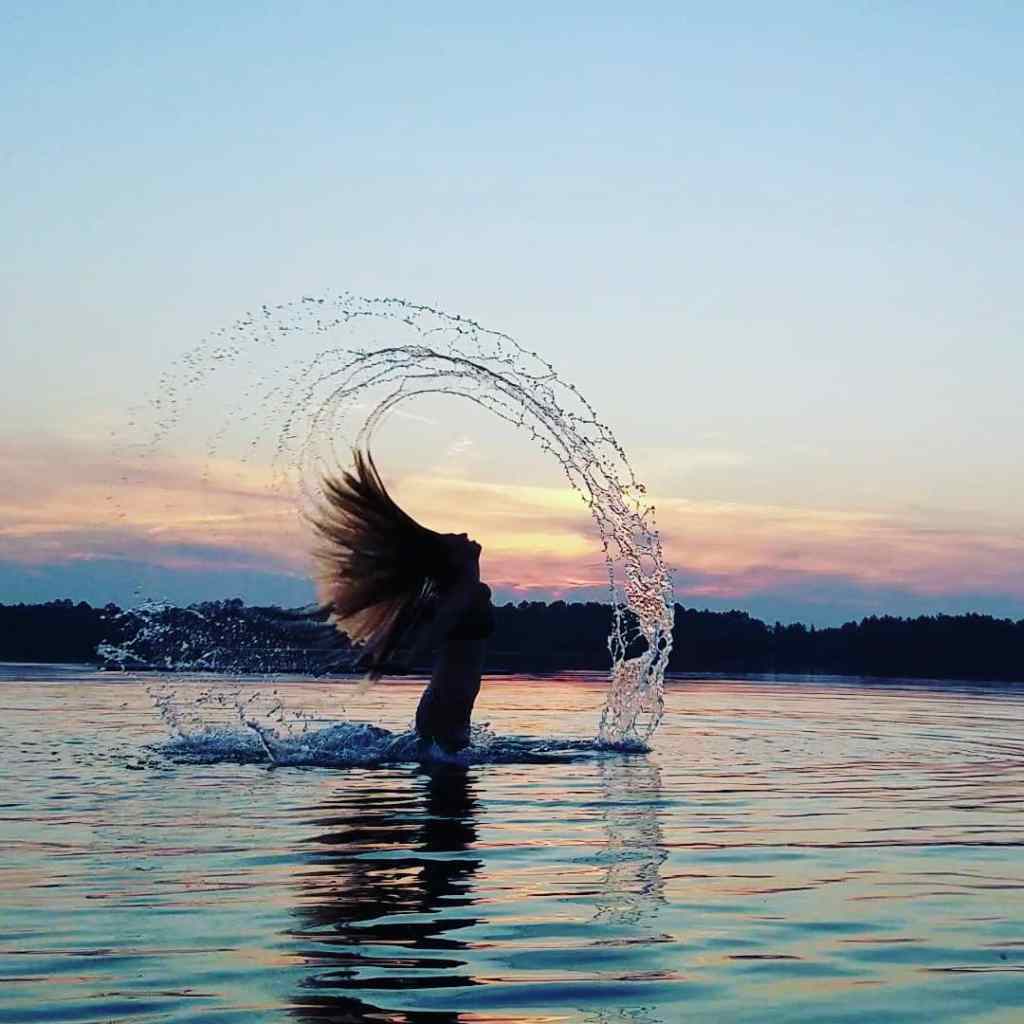
A water flip is super easy to accomplish. I find a way to prop my phone up near the end of my dock. Then I hit record. Once I get out in front of my camera I submerge my head in water and then toss it backwards. Longer hair will create a more powerful water arc, and shorter hair will create a more even arc because it won’t take as much effort to toss your head back. Well-conditioned hair is recommended. If you have the coordination, throwing your arms back through the water will create additional texture and shape in your image. Try different things! Your camera will record it all! Afterwards I go through the video and pause it on frames I want to keep. You can either screenshot these or use a video capture feature. This is super fun to do with young kids and teens.
Tip #3 Play with Light and Shadow
I love a dramatic look, so it’s no wonder light and shadow come into play when I get an idea for an impromptu photoshoot. Where you are in relation to the sun will determine which features are highlighted. You already know I love a classic silhouette, and getting creative with the sun can add a fun, personal touch to a photo. The two photos below were taken only a minute apart and all I did was adjust my phone for two completely different looks!

Trick #3 The Ultimate Make-Up Hack
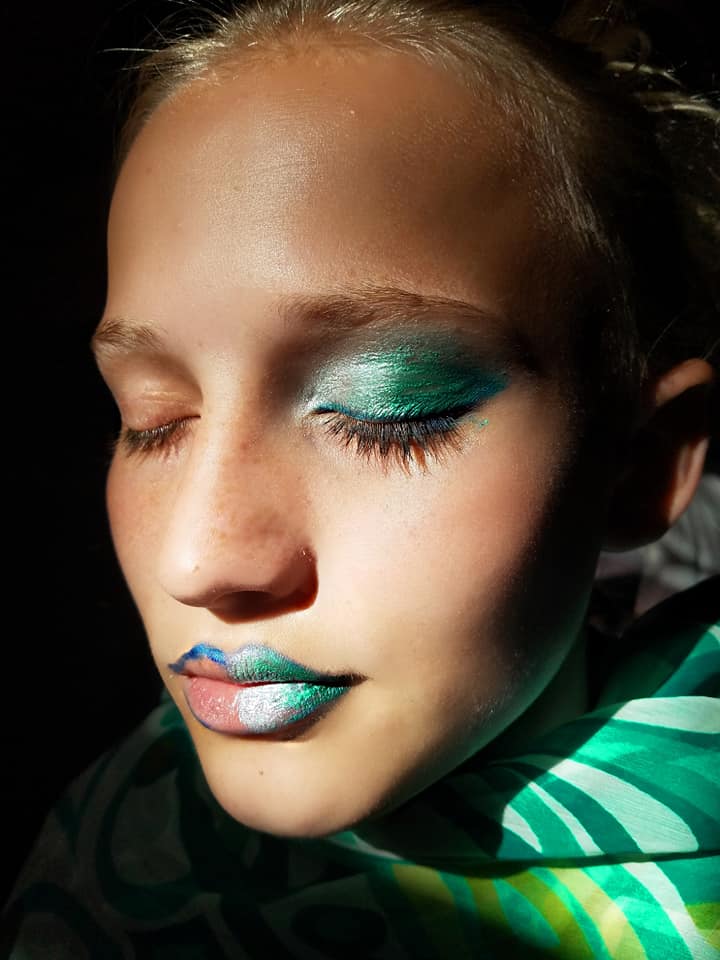
While an all-natural look is my go-to, I love experimenting with bright colors. Emme and I call this the “mermaid eye.”
Argan Oil
As you’re about to see, a little argan oil goes a long way. You can enhance any low quality eyeshadow by layering it on top of argan oil. A simple base of argan oil will allow any cheap eyeshadow to stick and it will moisturize the skin below at the same time. I used a little argan oil on Emme’s eyelids and lips and then dabbed the shadow on for intense pigmentation.
Argan Oil…Again!
Instant natural shine. Just apply a little argan oil wherever you want to catch the light and you’ll shine in all your photos. As you can see, Emme’s cheekbones are radiant.
I hope some of these ideas have inspired you in some way to document this beautiful season. I’d love to see any photos inspired by this blog so please please please use the #avns or tag us in your photos and let us know how our products inspire you!
First time visiting AVNS? Follow our blog to stay updated and sign-up for our newsletter to begin your journey to natural beauty!
Much Love,
Nora